
Congratulations on your GCDuino purchase.
This page will guide you through the process of installing the required software and drivers, plugging your Arduino Nano in, and uploading your first program.
- Get an IDE (Intergrated Development Enviroment). You have 2 options:
- Create an account over at codebender.cc. CodeBender is an online IDE and will enable you to run all the code examples right from this website. It’s the easiest option and installs all the required drivers for you.
- Download and install the Arduino IDE following the information at www.arduino.cc. If you are taking this route you might need to install device drivers too. Instructions can be found at the bottom of this page.
- Open up the cheat sheet and firmly press the Arduino into the breadboard like in the pictures.
Now, lets look at the essential need to know stuff…
A Complete Circuit
For any circuit to work it must have one side connected to power and the other connected to ground.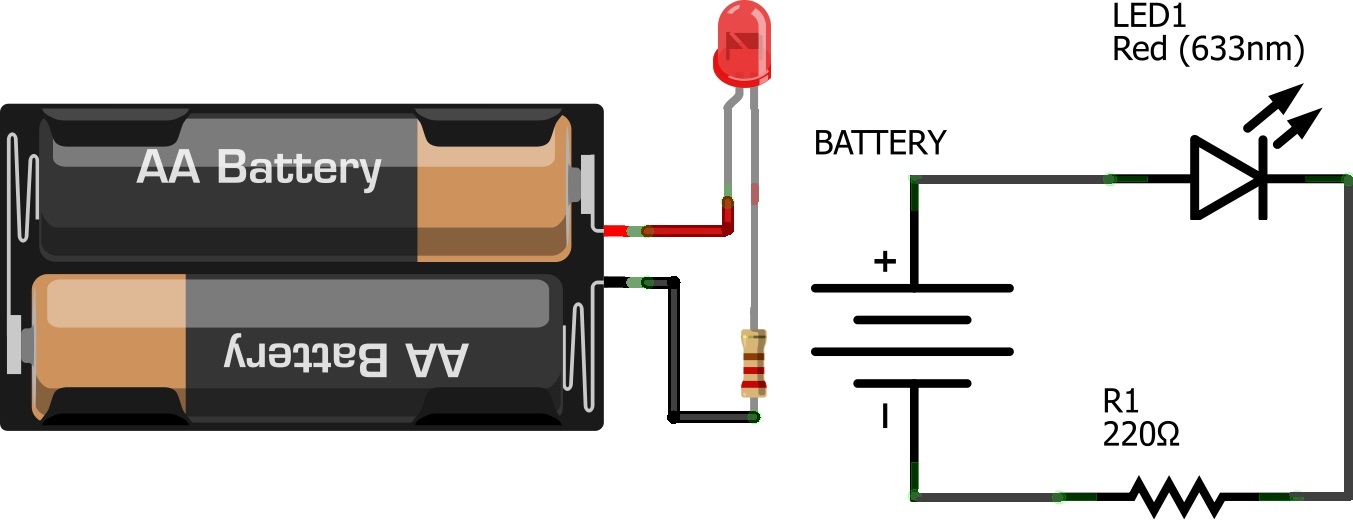
With micro controllers we can use 1 pin as the positive side of the circuit and connect the negative side to ground.
Making Connections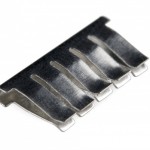
To make the connections of a circuit, we use a breadboard. Breadboards have conductive clips inside that firmly hold your wires and components in place.

If you have a look at your breadboard you will notice that the rows are numbered. The 5 holes in each row (either side of the ravine) are connected together, so any components and wires you place in the same row will be connected. The long columns running down the sides of the breadboard are referred to as power rails, you connect 5v and ground to them to allow you to complete circuits easily.
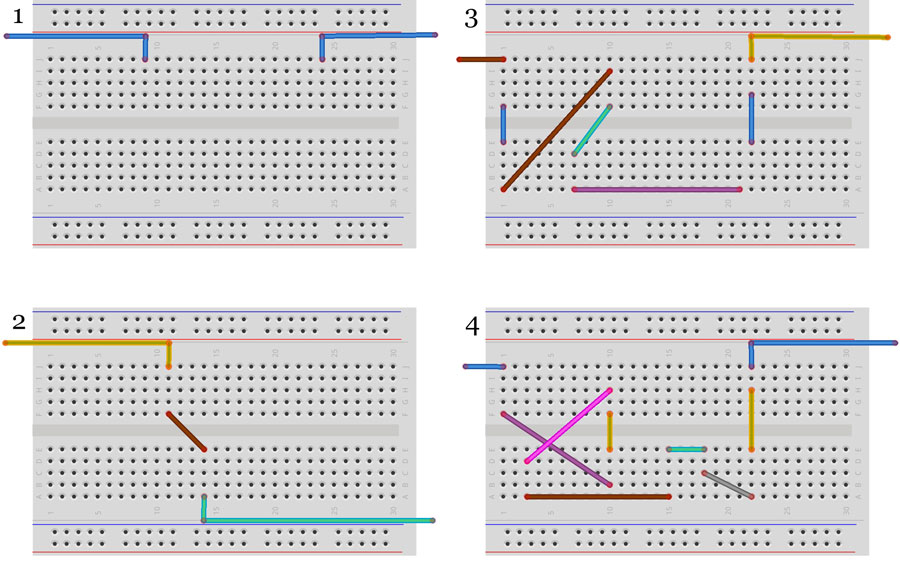
Question 1: Which of the following circuits connects the left side to the right side?
Lets begin…
Device driver instructions (For those using the Arduino IDE)
- Connect the Arduino Nano to your PC using the USB cable. If it doesn’t automatically detect the device, you may have to install drivers.
Windows
- Download the Windows CH340 Driver
- Unzip the folder.
- If you are running a 64Bit Windows: – run the SETUP_64.EXE installer.
- If you are running a 32Bit Windows: – run the SETUP_32.EXE installer.
- If you don’t know, try the 64 bit and if it doesn’t work, the 32 bit.
- In the Arduino IDE when the CH340 is connected you will see a COM Port in the Tools > Serial Port menu, the COM number for your device may vary depending on your system.
Macintosh
Inside the zip file you will find a PDF and a “pkg” file, short version, double click the pkg file, the PDF has some extra information.
I have not personally tested the signed driver, this information was found here: